The session was really from a personal perspective and journey, covering where I think robots in home and schools are going, and an overview of some of the projects I have been involved. First, part was the presentation - the slides are shown below.
The videos used in the presentations are shown below. The first video is an introduction and welcome from Red the Nao robot.
Next video shows a programmed Cozmo, using Anki's graphical programming language.
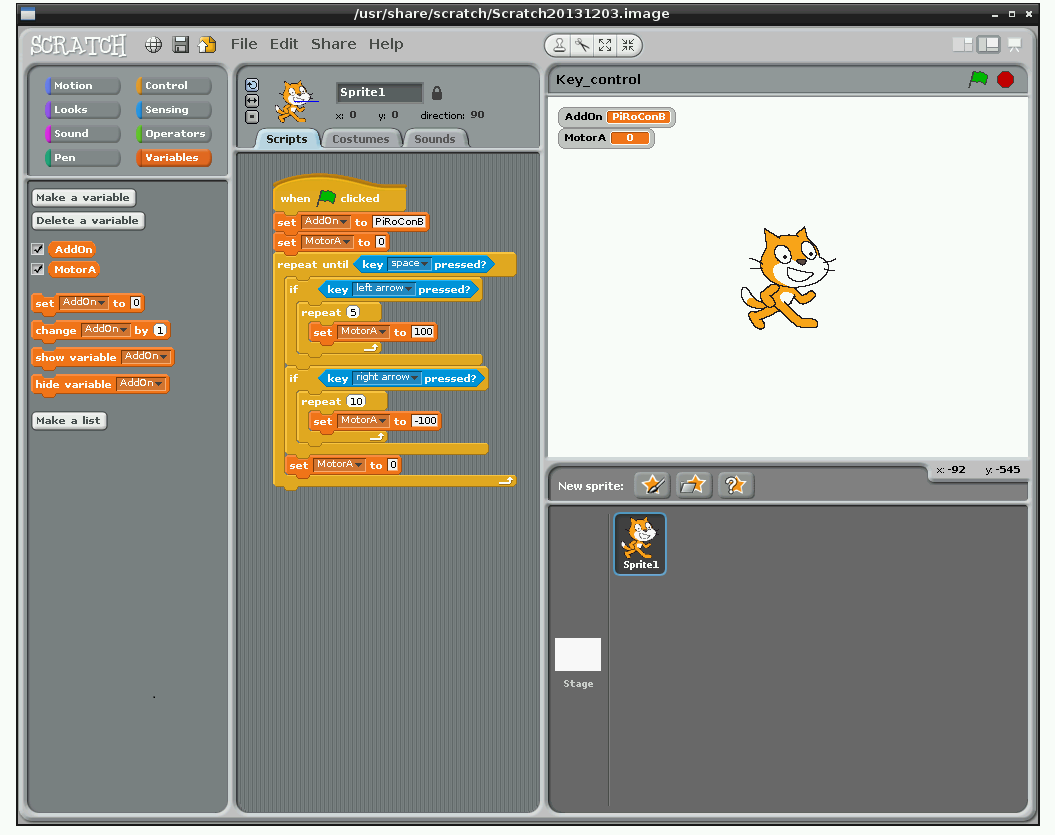
Second section of the session was playing with the robots. Red the Nao, an Anki Cozmo and an UBtech Alpha2 and having a play with a Crumble-based junkbots. Crumble junkbots were used on PC and Raspberry Pi via Pi-top CEED.
 |
| Red (at the back), alpha 2 (middle) and Cozmo (front) |
 |
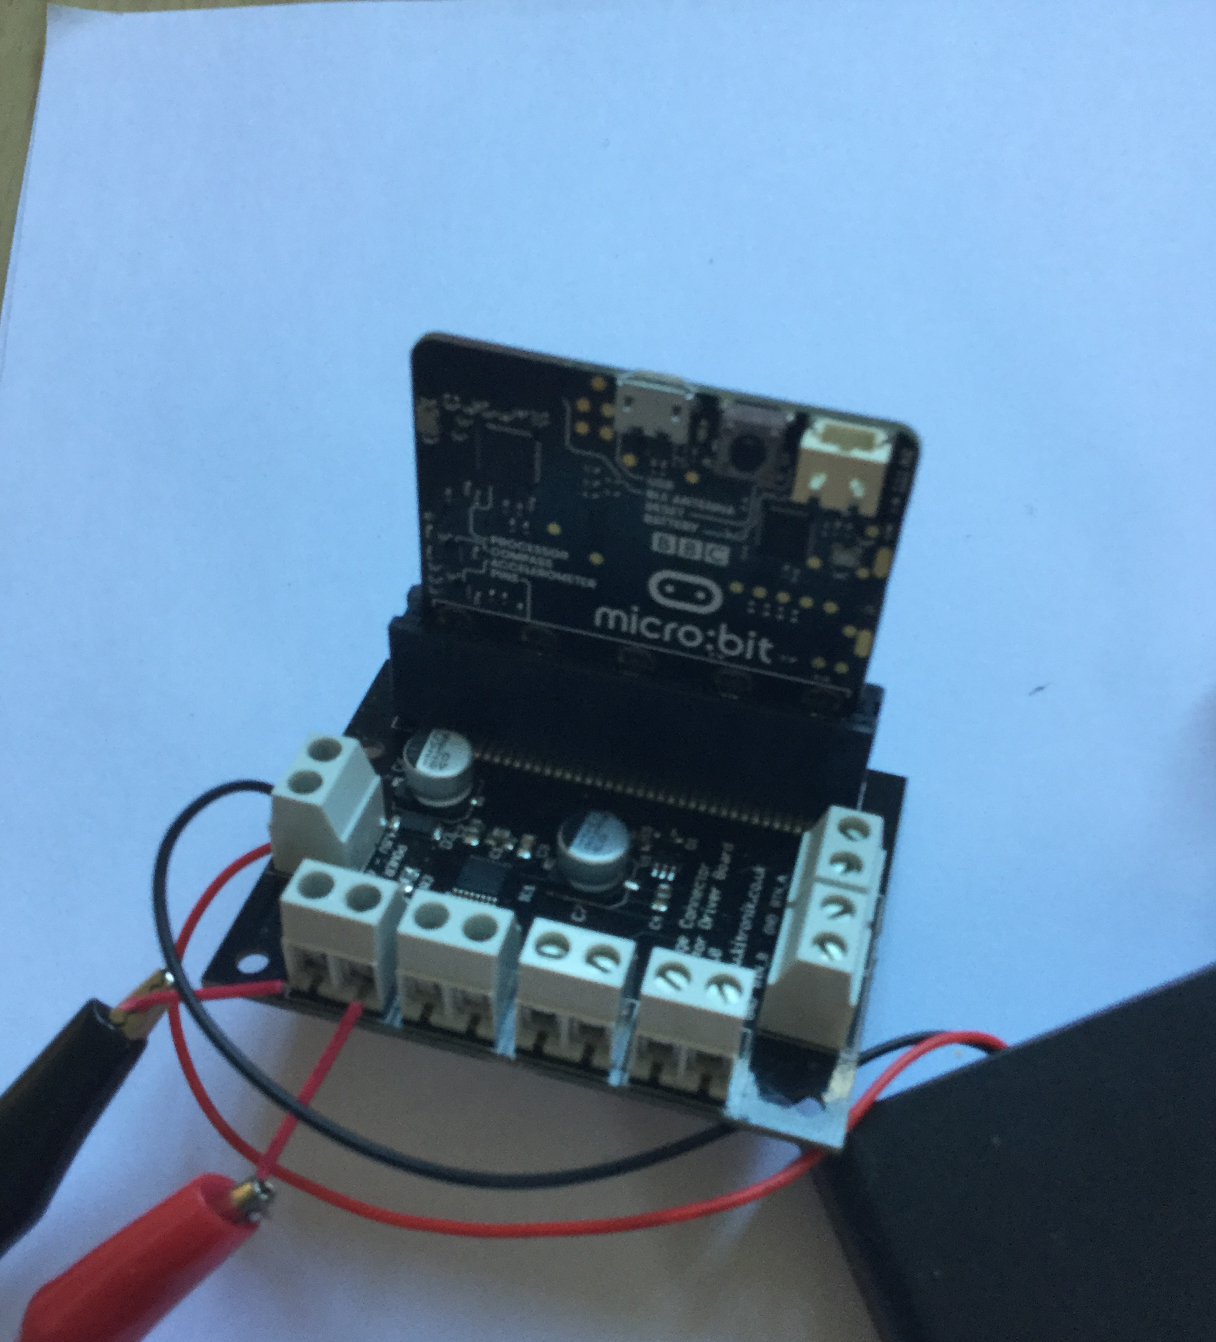
| Crumble controller from Redfern Electronics |
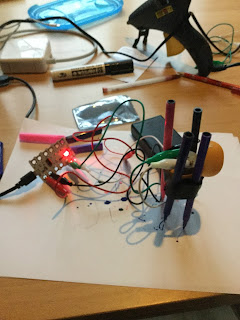 |
| Crumble as part of a junkbot. |
Highlights of the evening were Red going for a walk 'hand-in-hand' with one of the audience and Cozmo chatting away; as always (and rightly) the stars of the talk are the robots.
All opinions in this blog are the Author's and should not in any way be seen as reflecting the views of any organisation the Author has any association with. Twitter @scottturneruon


